Front Cover

Stages of Front Cover

Original Image
|

Edited Black & White and Lips Dark Red
|

Masthead, Issue date, Main Cover line
|

Coverlines, Plus, Barcode, Price
|
Whilst doing my front cover, I realised that having the image covering the whole page looked the best instead of having it being a part of the page (see mock-up of front cover). I decided the masthead looked good at the top of the front page and made the opacity of the masthead lower so that the image behind can be seen through the masthead which makes the masthead look interesting. I then decided to put the issue date and issue type under the masthead so it can stand out and the viewer/reader can clearly see what issue type/date is. I added the three coverlines exactly like in my mock-up of the front cover but it looked empty and as if it was missing something. Then I added more coverlines on the left side and preferred it more. I also added a 'plus' list on the bottom right because firstly, it will inform the reader and viewer of what the magazine includes and secondly because it fills the magazine up and makes it seem interesting but also not too plain and boring.
Contents Page

Stages of Contents Page

Title, Masthead, Cover Story, Issue
|

Features & Regulars
|

Images, Subscribe & website
|
I decided to change the layout of the contents page from my mock-up of content page, firstly the placed the title of the page on the right side of the page than on the left side because it made the title stand out more therefore the reader will know what page they are reading. Also, I decided to change the title from 'contents' to 'this week' because it works better with the magazine style and is a non-typical content page title. I also placed the masthead at the top middle, so there can be a continuous style throughout the magazine. I also added cover story under the masthead so the reader can go straight to the cover story as its most likely they bought the magazine because of the cover story. I also changed the layout of images and the features and regular list because whilst placing them I noticed the mock up layout didn't work well therefore I played around with the layout until it looked good and simple. Instead of making the subscribe section big like in the mock up, I made it smaller and placed it in the bottom left so it didn't overshadow the content page but also able to read clearly. I finally decided to added a website of the magazine at the bottom because most magazine in the market have a website where customers can subscribe therefore it will be needed.
Image Editing
Original Image
|

Edited Image
|
I edited this image making it seem little brighter so the image is clearer and easier to see what it is. I took this image using a camera with setting 'Black and White' therefore the original image is black and white already

Original Image
|

Edited Image
|
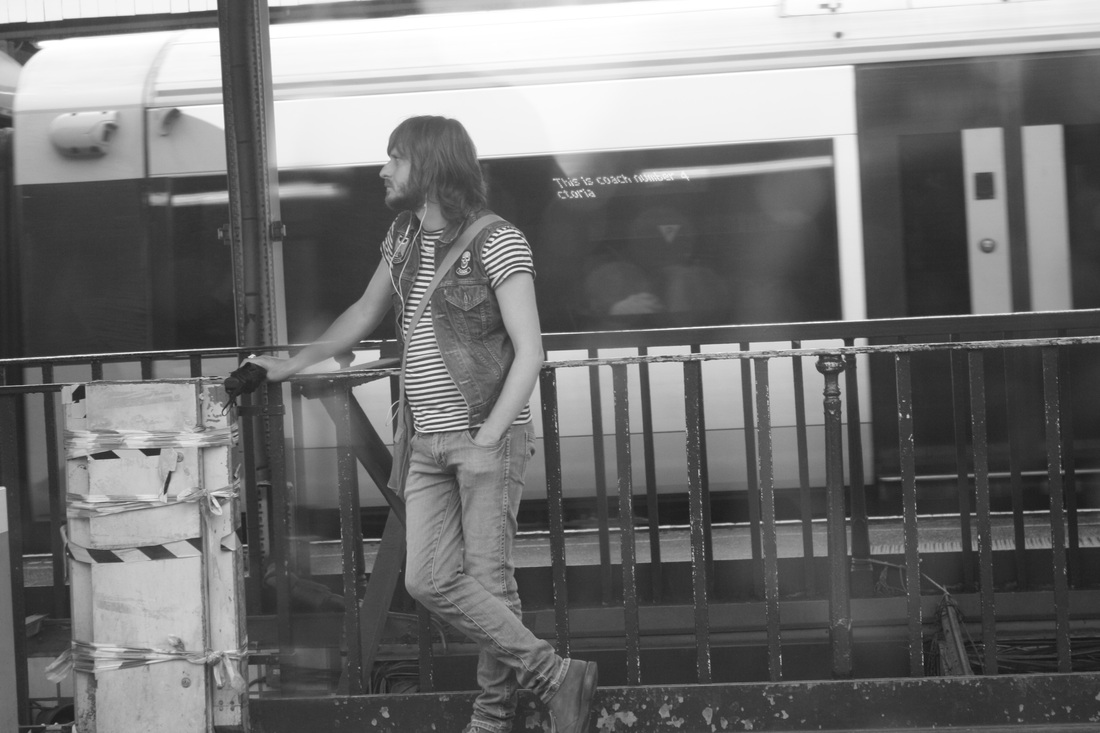
I took this image using a camera with setting 'Black and White' therefore the original image is black and white already. I also made the edited image brighter linking with the background where the sun is shining and gives a washed out tone linking with the river background.

Original Image
|

Edited Image
|
I took this image using a camera with setting 'Black and White' therefore the original image is black and white already. I also edited the image, making the exposure weaker therefore the image looks brighter but also the image of people is wiped out. This image is designed as an album cover and I put the artist name and album name at the top right side.
Double Page Spread

I decided to place the image on the first side of the double page spread because the reader then can use the image page as a poster and as in the image in a portrait style it makes the double page spread look unique and interesting and with the quote on the bottom, it links with the article on the next page as the quote comes from the text. I also changed the placing of the quote as in the mock up I placed it on the left side but to make sure the reader can read the quote I had to place it on the right side. I decided not to make the number page in a circle because when testing without the circle it made the magazine look more professional. I also added the magazine's masthead at the top of the pages which continues the style of the magazine. The title of the page is on the top of the page which overlaps today and makes it clear for the reader that the double page spread is together. Instead of placing the second image on the top right side like the mock up, I decided to place the image in the middle of the second page, which links with the question before but also makes the reader be more interested.
Stages of Image 1

Original Image
|

Background edited out & made grey. Black & White edited
|

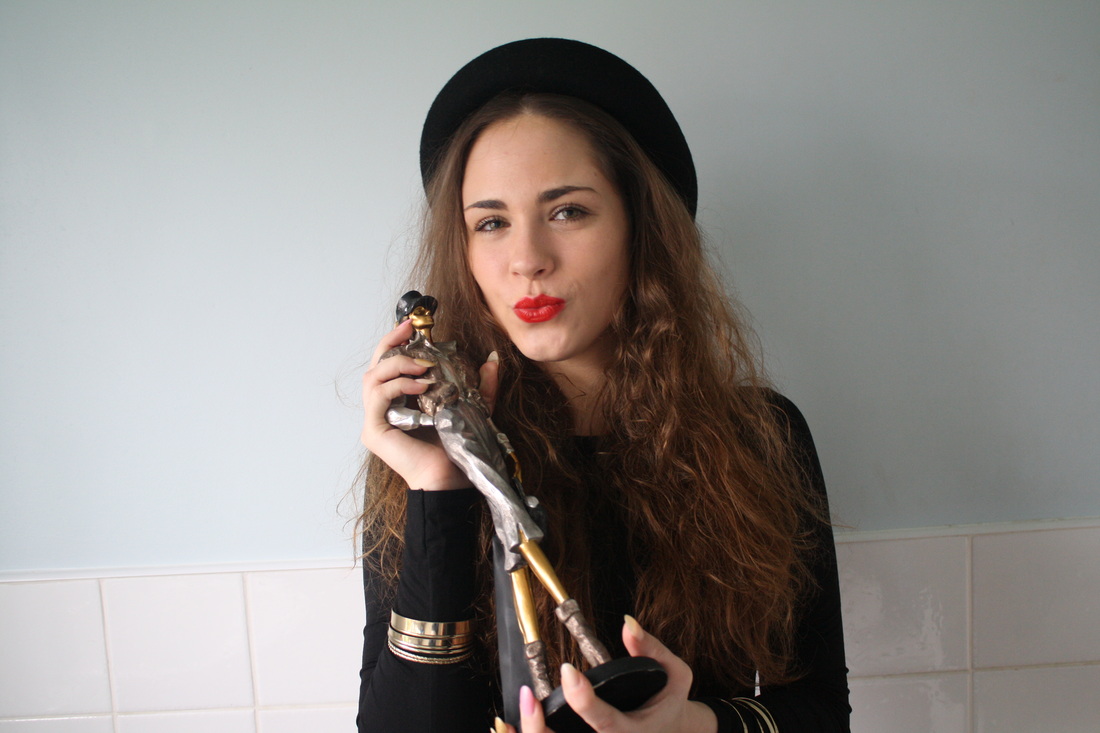
Red lips added
|
Stages of Image 2
Original Image
|

Background edited out & made to grey. Black & White edited
|

Red lips edited and added.
|
Stages:
- Cropped the image
- Removed the background
- Added a grey background
- Made image black & white
- Placed a coloured version of the same image but cropped (lips) onto the black and white version
- Edited the lips and made the darker
- Cropped the image
- Removed the background
- Added a grey background
- Made image black & white
- Placed a coloured version of the same image but cropped (lips) onto the black and white version
- Edited the lips and made the darker
